
Ricky-
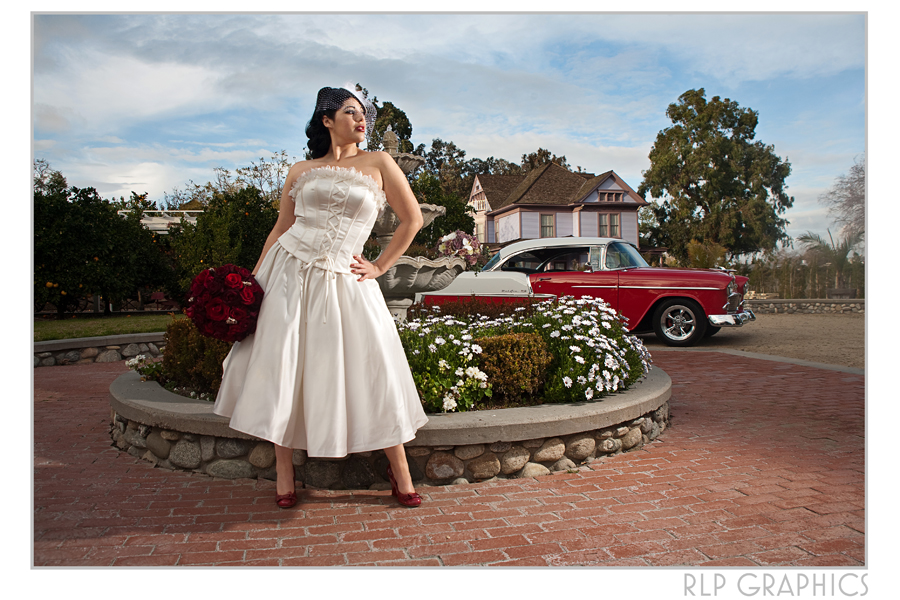
1.Start with doing some adjustments to the image.
2.color correction
3.Under or over exposed adjustment.
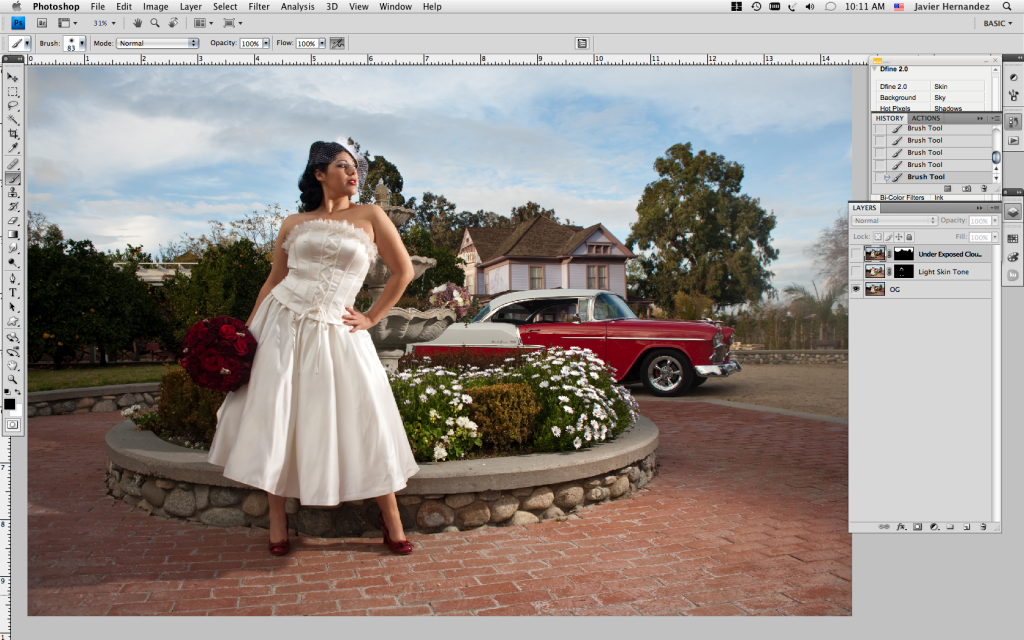
1.Make a copy of the image (Command J)
2.Just focus on the skin.
3.When happy with the skin, add layer mask.
4.Invert the mask (Command, I).
5.Paint with the brush tool, white on the black in the layer mask.
6.when done correctly it will just show the lighter skin tone.
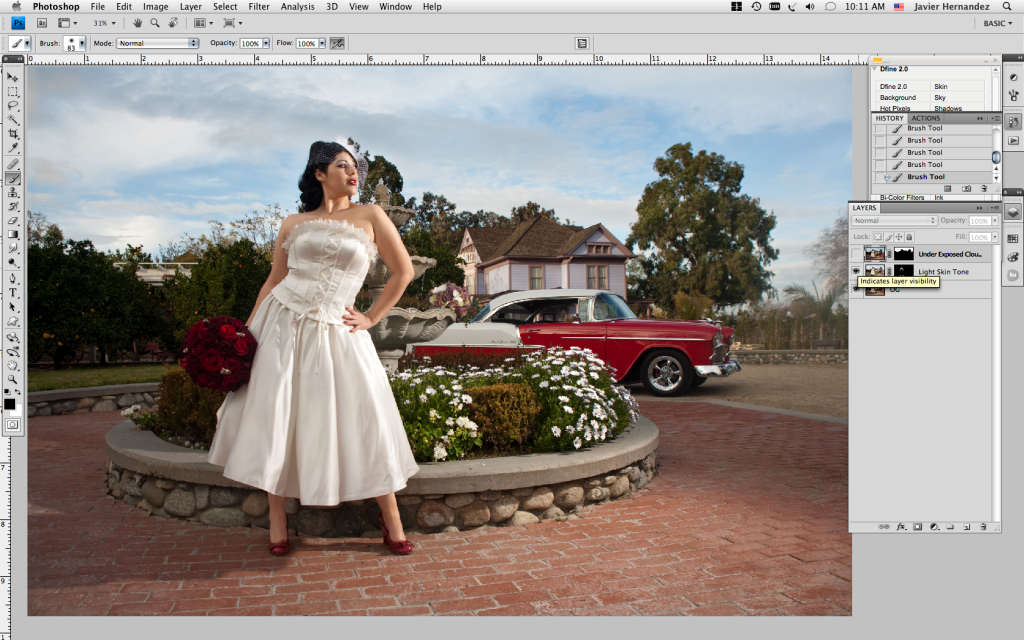
1.Make a copy of the original image (Command J)
2.Repeat the process but this time make the sky darker so you can get more detail on the clouds.
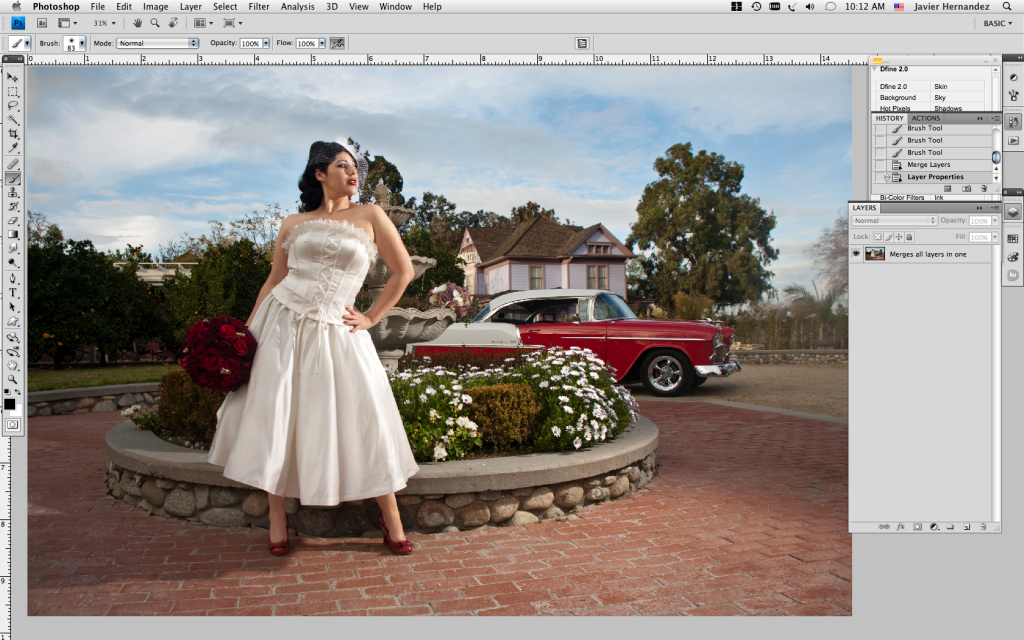
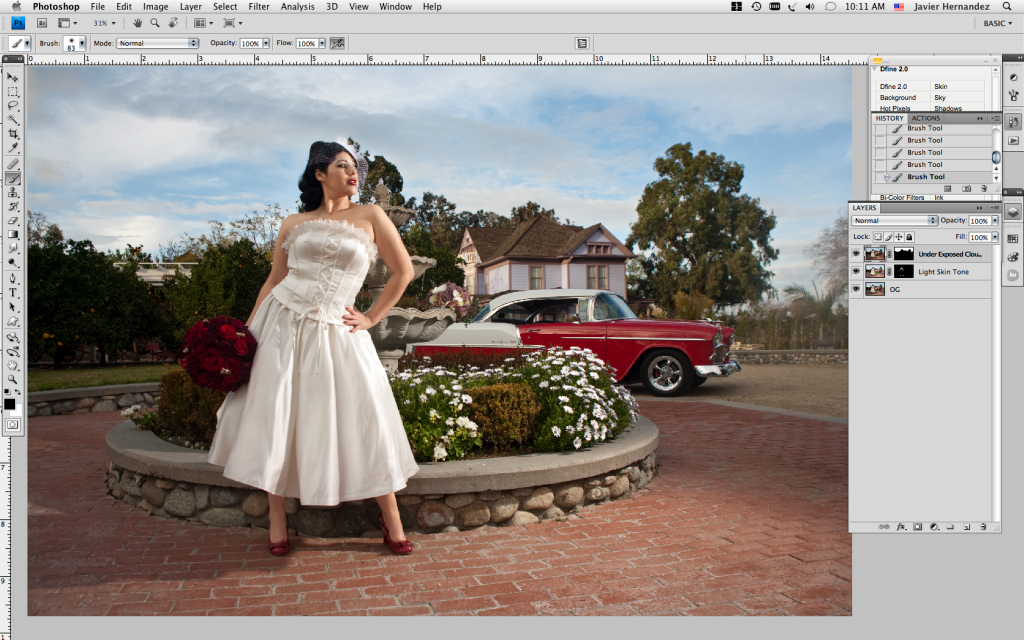
1.Adjust the layers Opacity so it can look realistic.
2.Select all layer and merge them into one layer (once selected press [command E])
1.Your done!!
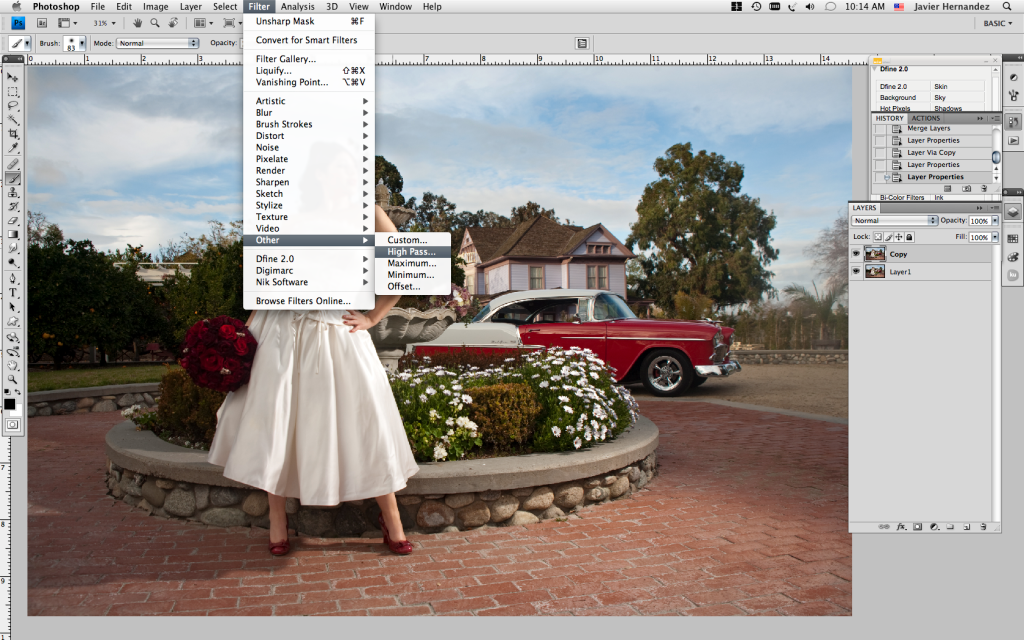
2.To give the image more POP! Make a copy of the finish Image (Command J)
3.On the new Layer go to Filter-other-high pass.
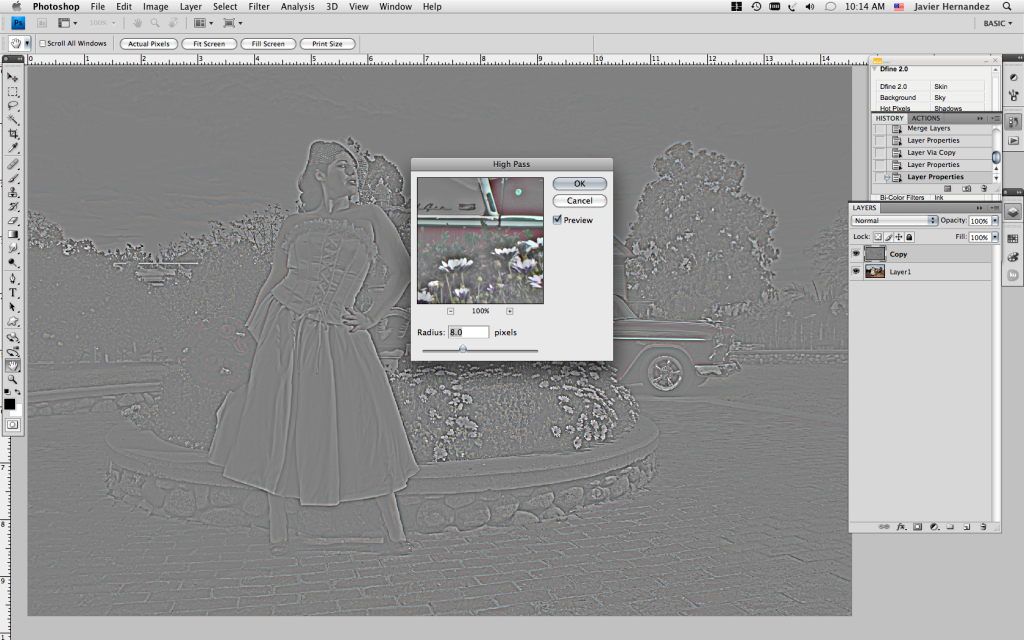
1.You really don't need more than 8px
2.press ok
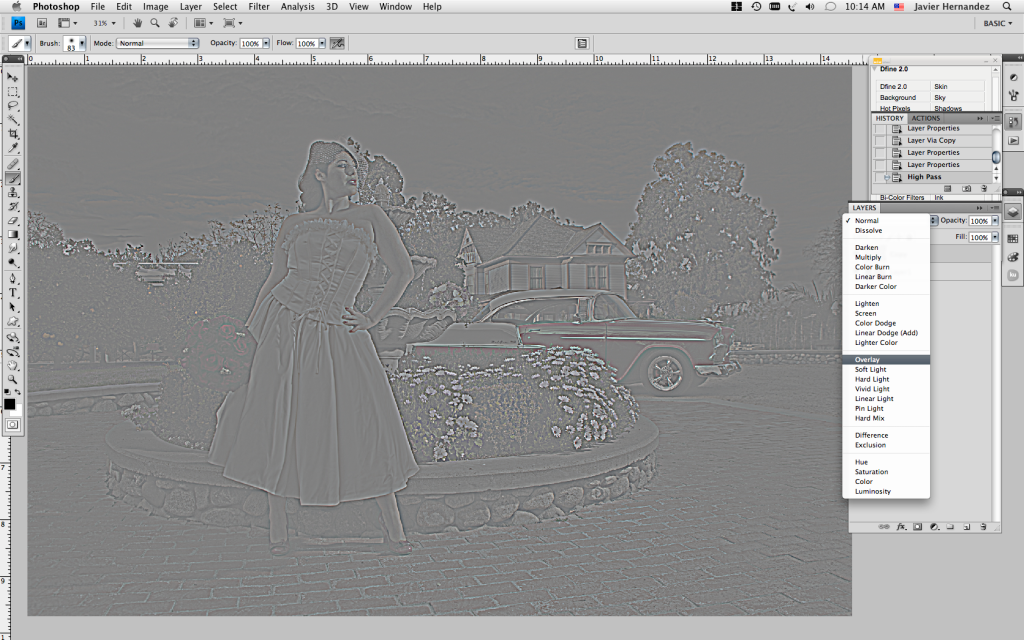
1.Set the blend mode to Overlay
2.Adjust Opacity
3.Merge the two layer into one (Command E)
1. Don't forget to save...
No comments:
Post a Comment